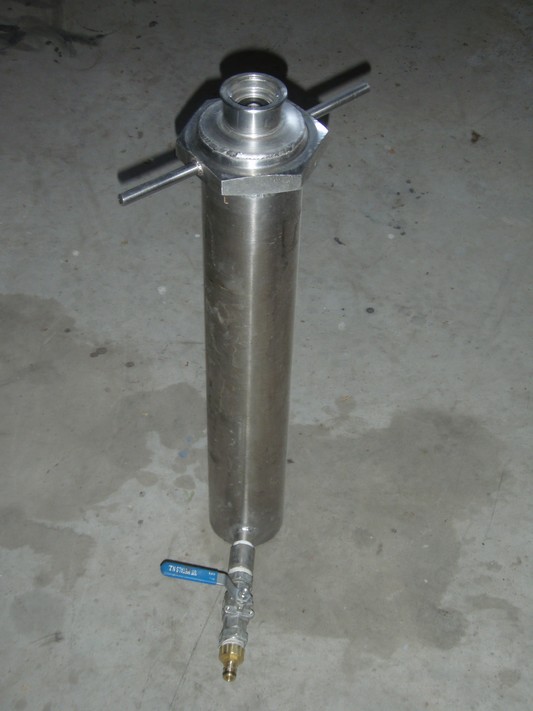
Frog, my neighbour, had to weld a pipe coupling to an old beer keg for someone a while back. This set us thinking and we made some mental notes. Suffice to say, a few months later we had bartered, bought and scrounged some beaten up old stainless steel kegs. Frog has the hoarding gene, passed down through generations of Flanders. Scrap, especially stainless is always reclaimed, so we had enough pipe and couplings to recycle for the job. He set about welding the pipe and couplings into the kegs and I got the rest of the gear together. We decide to start with kits to make sure it was all working and then try from scratch later. I did some research and got a few kits, brewing sugar, sterilising chemicals, thermometer, airlocks and so on. One of the main requirements of brewing is plenty of hot water, so we cut the top out of one keg and welded in a fitting for a 2KW heating element, a sealed tube for a dairy thermostat (up to 120°C, so can boil water) and a fitting for a tap. We lagged the keg to make an effective boiler. We fitted a grate higher than the element so that it can be used for preserving too.

2kW, 50 litre keg boiler. Takes 2 hours to boil. Can be used for crustaceans and preserving too.
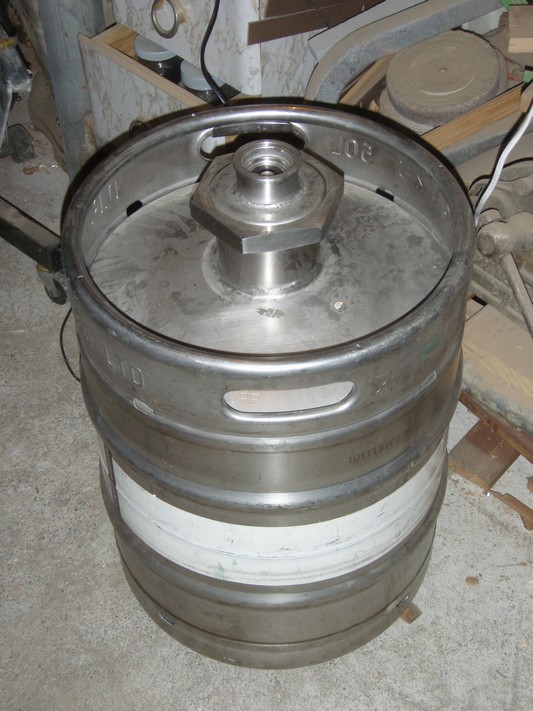
OK, so we have hot water for cleaning , dissolving and adjusting the temperature for the yeast. One kit is designed for a brewing bucket of 23 litres, we are using 50 litre kegs, so use two kits. The process is that we warm 2 tins per keg to make it runny. Sterilise the keg, blanking plate, o-ring, bung and airlock. Next the can contents are poured into the keg, the cans rinsed with boiling water also to dilute the syrup and then the brewing sugar poured in and stirred to dissolve. The keg is then topped up with cold, filtered water to almost full. A temperature sensitive label lets you adjust the temperature to between 18°C and 28°C before adding the yeast and stirring a little. Now we fit the sterilised o-ring, blanking cap (with hole), bung and airlock with filtered water.
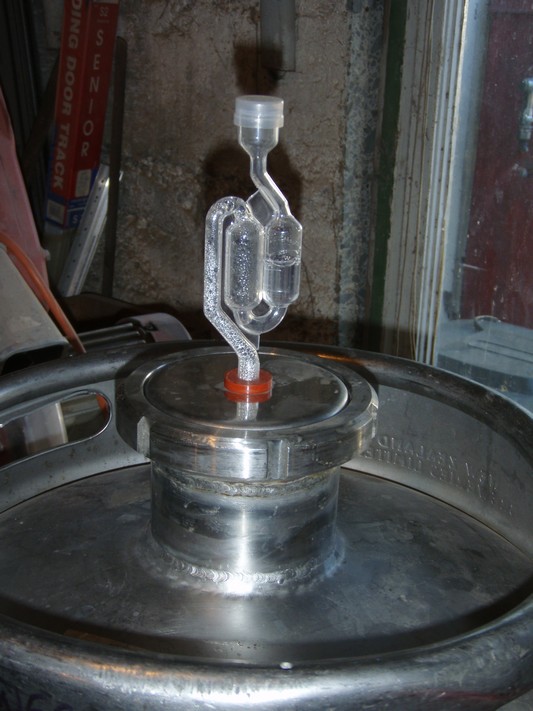
Keg with 100mm coupling fitted with blanking plate, bung and airlock.
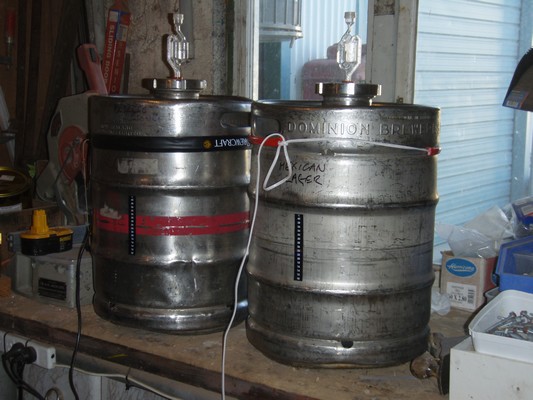
100 litres of beer brewing for the Christmas and New Year holiday period.
The instructions state 4 to 7 days between 18°C and 28°C. I’ve aimed at the lower end of this scale, 20°C to 22°C. Rather than measure the S.G. (Specific Gravity) I simply wait until the the fermentation has just about stopped which typically takes at least 7 to 10 days. At this stage, the beauty of the keg over bottling is that it’s a lot less hassle. Using the pipe cleaning set up the pick-up pipe and coupling can be sterilised and rinsed. Normally a teaspoon, or 5g, of white sugar is used per bottle. I remove the blanking cap and airlock, add around 350g of caster sugar straight to the keg, stir with the pick-up pipe, or a sterile spoon and then seal up and tighten the lid/pick-up/keg-coupling good and tight to withstand the carbonation pressure. Next keep at 20°C or more for a further 4 or 5 days to complete the secondary fermentation.
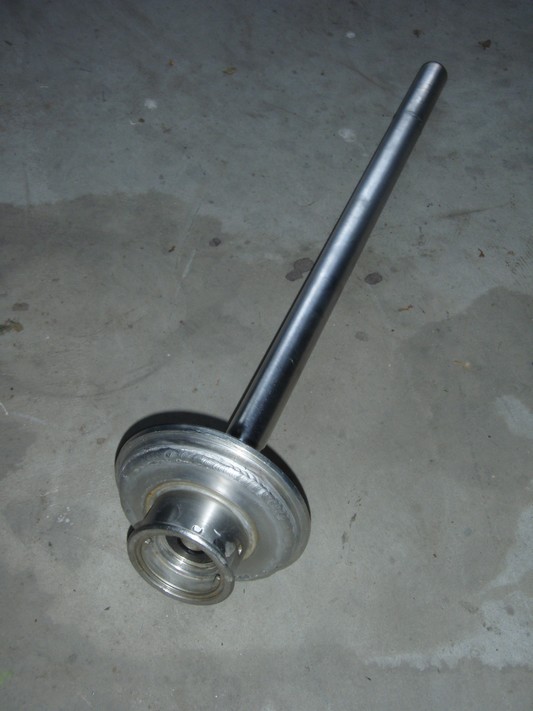
The coupling welded into a blanking lid and the pick-up tube extended to allow for the new neck on the keg.
The cleaning set up can clean the keg pick-up/coupling and the pipe and tap for pouring.
50l of East India Pale Ale from kits from Black Rock maturing.
Immediately after second fermentation the beer can be drunk, but it is better to let it mature for a few weeks, or even months in a cool place.
At least for the lager/pilsener beer it needs to be chilled, especially for a New Zealand summer, so Frog plumbed an old fridge freezer to chill and pour the beer.
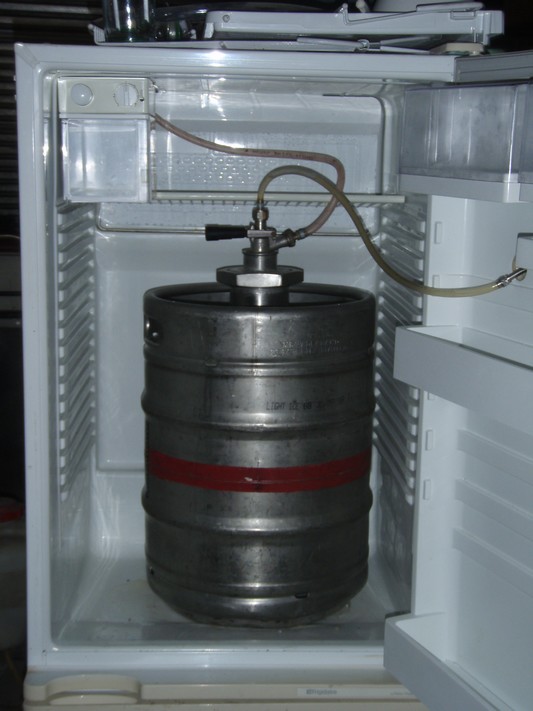
Beer in fridge …
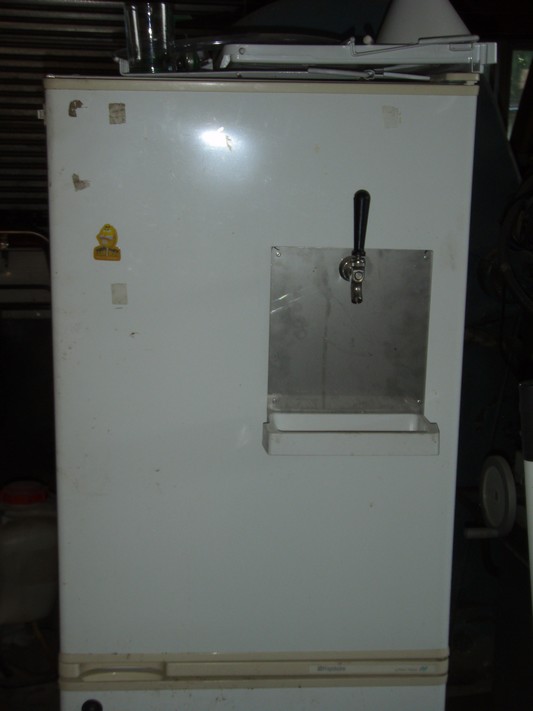
… tap on fridge …
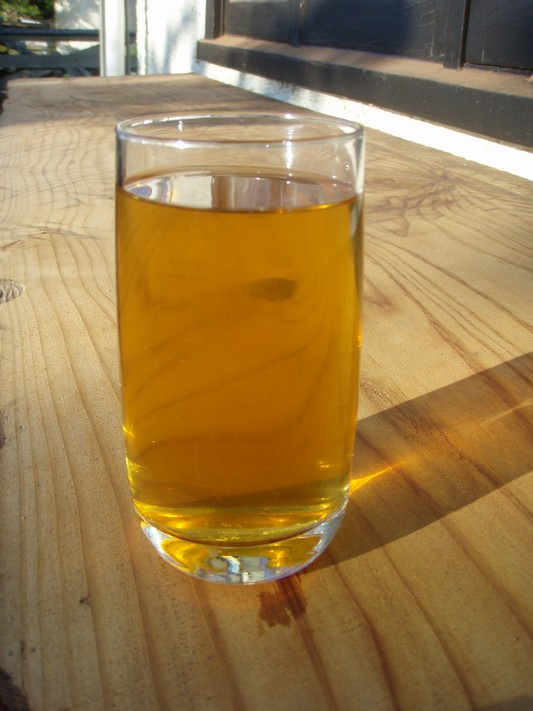
… crystal-clear, refreshing, cold beer in glass – happy days!
Is it worth the effort? Well, it costs about 1/4 of the price of 330ml bottles, stubbies, and we’re not even trying to source the ingredients at a better price or in bulk yet. No non-recyclable glass bottles to dispose of. Also, Frog assures me he doesn’t get the acid reflux he gets with some of the commercial brews. A wee bit of planning, a bit of prep a couple of hours in advance and about an hour of work – enjoyable and satisfying too!